In the world of calisthenics, the Front lever is one of the elements that everyone wants to learn or improve. However, people do not know the great complexity of holding this figure in tension.
What is a Front Lever?
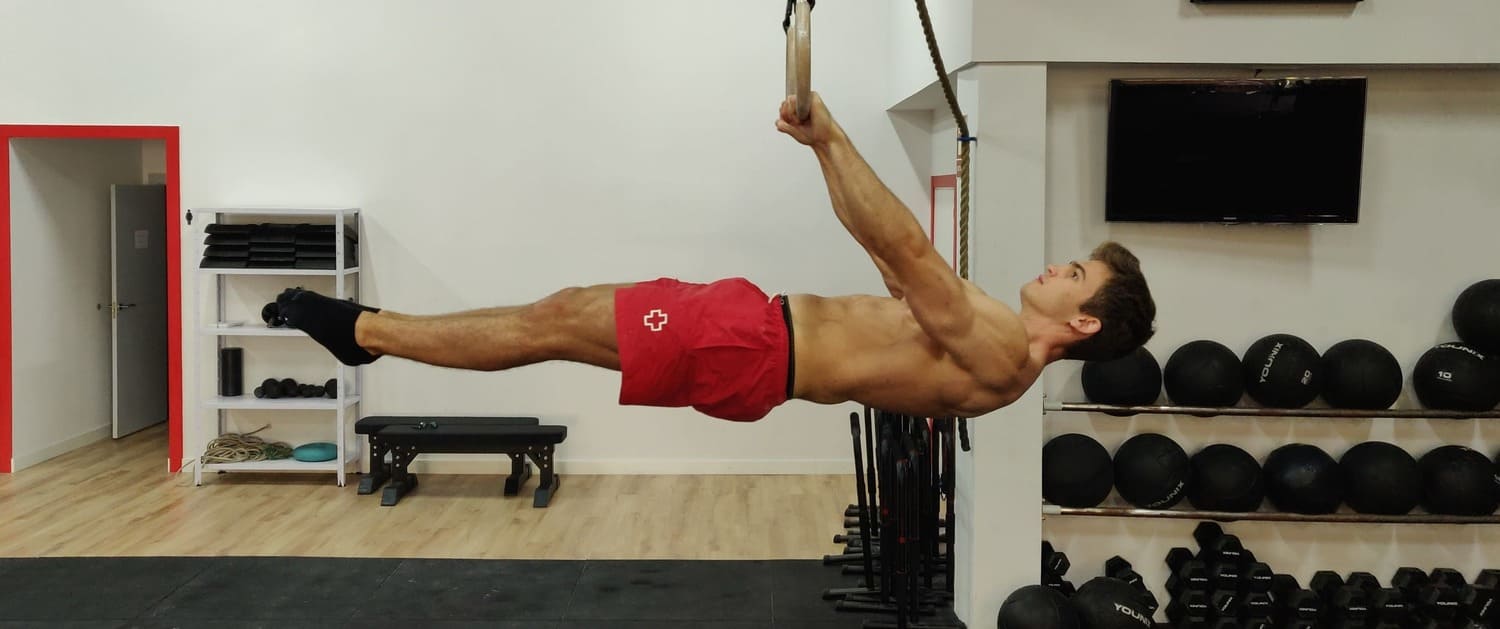
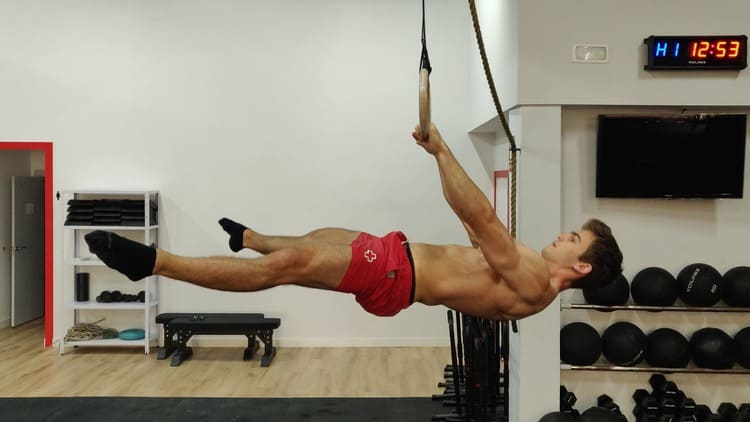
The Front lever is a static element that we perform in suspension hanging from a bar, rings or other element, keeping the body parallel to the ground with a horizontal alignment from the ankles, passing through knees, hips and shoulders.
In this element we will keep the arms fully extended, with a slight flexion of the shoulder and anteversion of the hip, the legs together and a total extension of the knees and ankles.
Muscle actions and activities
As for muscle activation, people never agree and do not know how to identify the muscles that are working on in this element. We want to analyze it from the main actions that will help to maintain a better shape of the element.
First, we see that the Front lever has a specific scapular position: the so-called scapular retraction. This is an adduction or approach of the shoulder blades or scapulae to the midline of the spine. However, it is very difficult to maintain this complete position in retraction without flexing the elbows, since there is a force that opposes the movement: the force of gravity. Thus, our awareness in the movement will be to perform this scapular retraction with the arms fully extended. The main muscles that will be responsible for this action will be the rhomboids.
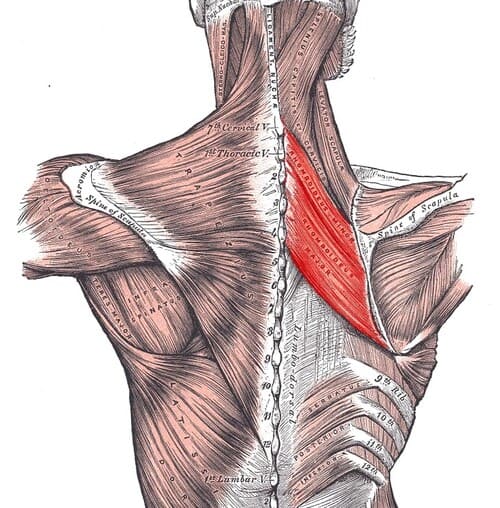
Rhomboidei
Following the position of the spine, we will seek to maintain natural physiological curvatures, that is, to maintain lumbar lordosis (lumbar zone curvature). The ideal position of the pelvis on a front lever would be to maintain neutrality while respecting physiological curvatures. Given that gravity is opposed to our horizontal position, we would make the figure with a slight anteversion. Anteversion is the position in which the ESIA or ASIS (anterior superior iliac spines) of the pelvis are below the ISPS or PIIS (posterior superior iliac spines). That is, if we draw a straight line between both iliac spines, we can see how the ESIAs are markedly below the line and the ISPs above. See the image.
In the anteversion position, the lumbar extensors, hip flexors (psoas and quadriceps) are in a shortened position. Therefore, there is less activity of the rectus abdominis, hamstrings, obliques and gluteus maximus (retrograde musculature).
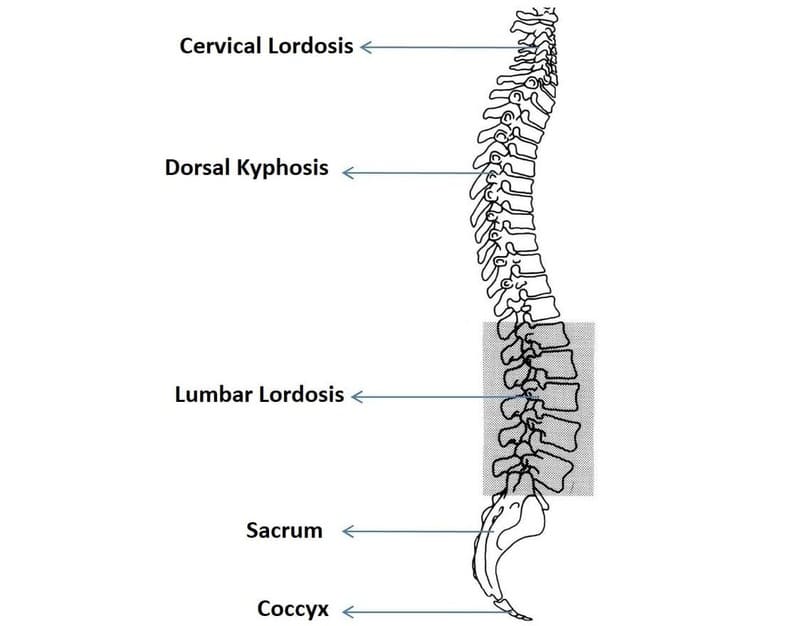
Anteversion is associated with a lumbar area with greater lordosis, that is, more curved or extended.
Maintaining this neutral position with a tendency to pelvic anteversion is very complex at the physical level, therefore a pelvic retroversion is always performed to protect the lower back and maintain good horizontality without danger of injury to the area. So, as for the pelvis, we will seek the maximum possible neutrality.
The abdominal rectum will also be key, in this case it will help us maintain and fix the horizontal position throughout the spine. As well as if we focus on the bottom. The quadriceps will help extend the knee and fix the entire limb well to keep the figure parallel to the ground.
Biomechanics, key to progress:
To progress in the Front lever it is essential that we understand the components of basic biomechanics: force, moment of force and lever arm.
– We know that the force is the physical ability to perform a job or movement.
– The moment of a force with respect to a point reveals to what extent there is capacity in a force or system of forces to change the state of the body’s rotation around an axis that passes through that point. This will depend on the force and the distance or lever arm.
– The lever arm is the perpendicular distance that exists from the axis of rotation to the line of force, and will be key to establishing our progressions.
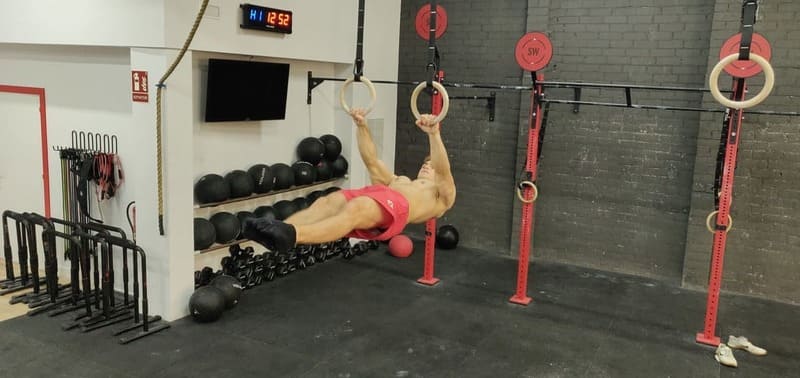
The most complex reference exercise will be the Front lever itself, since we perform it with the largest possible lever arm: legs stretched and together. In this way the moment of force we have to hold is greater.
 Now let’s go for the first progressions, the simplest. Taking into account the biomechanical concepts, we will seek the reduction of the lever arm to be able to withstand the tension with the best possible technique, keeping the scapulae tightly together.
We will start with the tuck front lever. In this exercise we will maintain the horizontality of the body, with fully stretched arms and with a good scapular retraction, but we will flex the hip and knees. In the tuck we will look for a control of the pelvis so that it is neither too high nor too low. If control of this position creates difficulty, we will reduce the lever further by bringing the knees closer towards the chest.
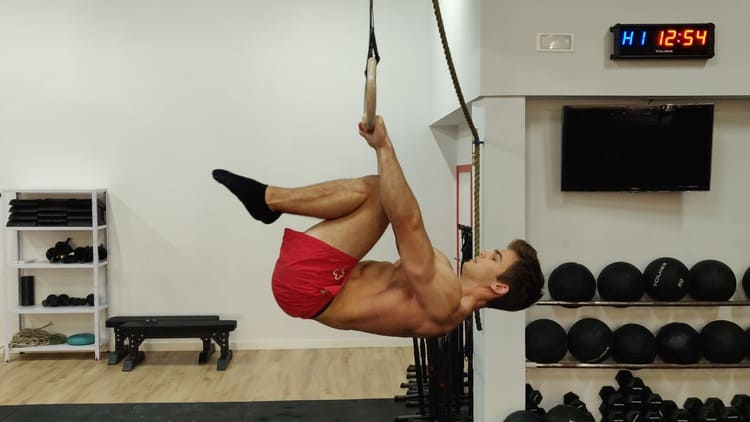
Tuck front lever
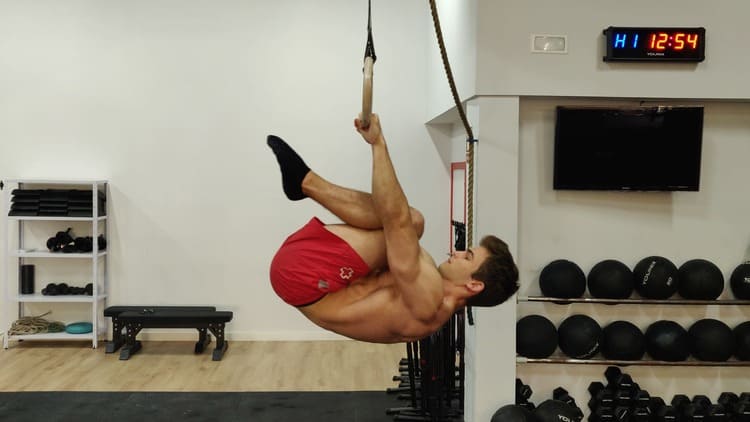
Short tuck front lever
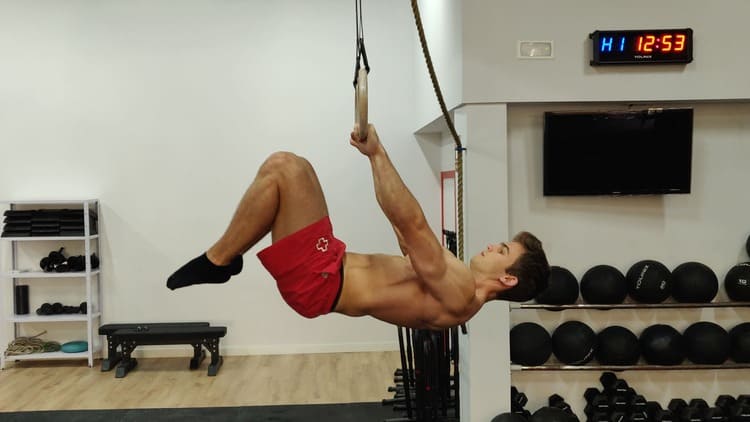
Let’s go now with the advanced tuck. In this case we will follow the same pattern as the tuck lever but try to extend the hip slightly, so that the knee joint is slightly flexed. In this figure, therefore, the lever arm increases. This is usually a very useful exercise to improve Front Lever awareness.
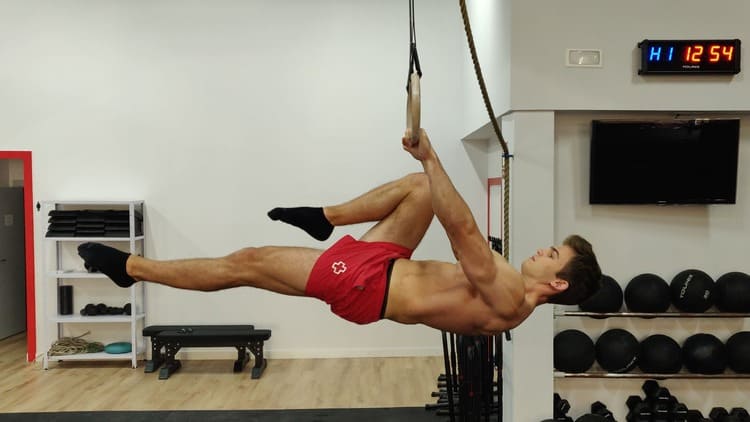
Next we have the one leg Front lever. In this case, one leg will be fully extended looking for the horizontality with hip extension, and the other we will keep it in a tuck position, that is, flexed. The difficulty is that we are increasing the lever with respect to the tuck lever but with less force, since we only support the weight of one leg.
Continuing with the progressions, we would find the Straddle Front lever, or open legs. In this position, we will keep our hips and knees stretched but we will separate the legs forming two diagonals. Regarding the one leg front lever, the difficulty increases since we keep both legs in extension. However, the distribution of forces in the Straddle position is of less difficulty with respect to the Full Front lever position (or full position with legs together and stretched).
Finally, we would have the Full front lever or completely extended Front lever, mentioned previously. The recommended progression is following the principle of the lever arm. However, each person responds differently. Therefore, to establish a progression, we will follow the principle of Individualization, where we will adapt each exercise according to the athlete’s own conditions and improvements. To make a more complex progression, we have to understand that we must master the previous progression with good form and with activation powerful enough to be able to withstand an increase in lever or forces.
Equipment such as elastic bands or different supports may be used to assist each position as long as the relative intensity is always present. That is, the athlete produces a high effort within ranges of optimal technique.
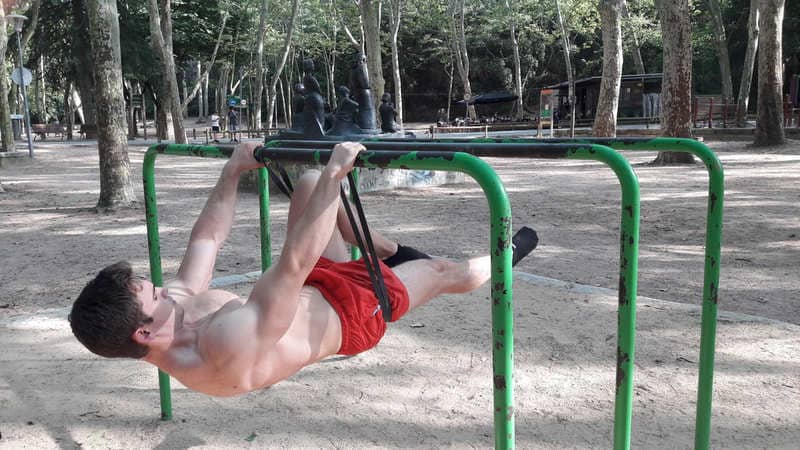
Front Lever with elastic band 1
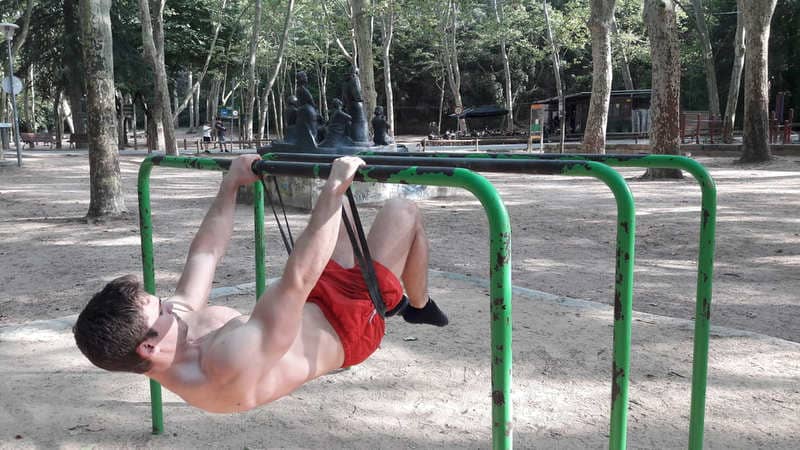
Front Lever with elastic band 2